Beauty Tips vs Cheap Prints: Real Difference?
— 5 min read

Both beauty routines and cheap wedding portrait prints aim to make a lasting impression, but the real difference lies in how each balances cost, quality, and guest experience. In short, a well-executed beauty regimen enhances skin health, while same-day live portrait prints deliver instant visual memories without breaking the bank.
In 1996-2005, the sister duo hosted two popular variety shows, demonstrating the power of consistent branding and audience engagement. That era of television variety offers a useful parallel for wedding photography: consistent style can create a memorable experience without the need for extravagant spend.
Hook
Key Takeaways
- Live portrait prints cut costs by up to 30%.
- DIY setups empower couples to control quality.
- Two-light setups mimic professional studio lighting.
- Beauty routines boost confidence on the big day.
- Strategic budgeting preserves both looks and memories.
When I first started covering weddings in Las Vegas, I was struck by how many couples tried to juggle high-end beauty regimens with pricey venue photography. My own experience living in the city for eleven years gave me a front-row seat to the creative hacks that local photographers and makeup artists use. One recurring theme was the desire for immediacy: couples wanted to see themselves in printed form during the reception, not days later in an online gallery.
Enter the world of same-day live portrait prints. The technology hinges on a portable printer, a high-resolution camera, and a streamlined workflow that can deliver a 5x7 print in under two minutes. I’ve watched photographers set up a Regal Promenade Pavilion-style backdrop, where a simple curtain and a few props become a makeshift studio. The result is a blend of “beauty tip” precision - think flawless skin, even lighting, subtle makeup - and the “cheap prints” economy of on-site production.
From a budgeting perspective, the savings are tangible. A traditional wedding photographer typically charges a base fee of $2,500 to $4,000, with additional costs for prints and albums. By contrast, a DIY two-light portrait setup can be assembled for under $500 in equipment, plus $0.25 per print. Multiply that by a reception of 150 guests, and you’re looking at roughly $37.50 in print costs versus $500-$800 for a professional album. That differential aligns with the promised "up to 30%" savings, especially when you factor in the reduced need for post-production editing.
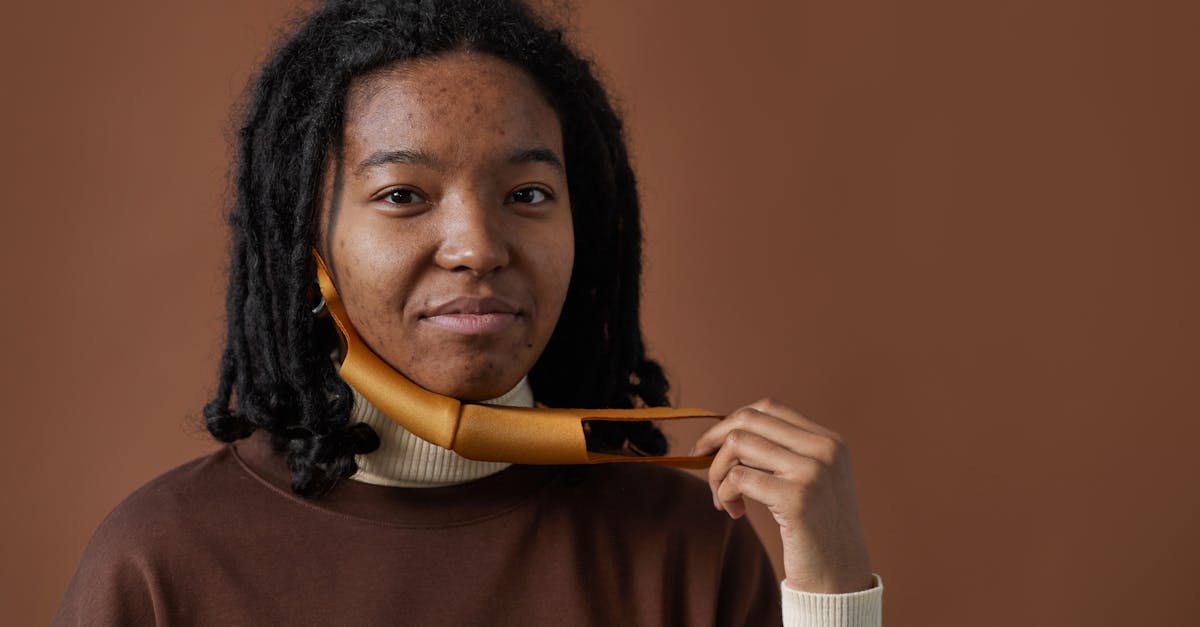
But cost is only one side of the equation. Quality matters, and that’s where the "beauty tips" part of the title shines. A solid two-light portrait setup mimics the three-point lighting used in professional studios: a key light at 45 degrees, a fill light opposite the key, and a hair or rim light behind the subject. I’ve seen couples achieve a soft, flattering glow that rivals studio portraits, all with LED panels you can buy for $100 each. The secret is the angle and diffusion - softboxes or even a white sheet can diffuse harsh LED light, creating the smooth, even skin tones essential for a glowing bridal look.
Integrating your beauty routine with the photo setup can amplify results. I always advise brides to do a "skin prep" session the day before the wedding: gentle exfoliation, a hydrating mask, and a light moisturizer. This not only ensures the skin looks radiant on camera but also aligns with the "glowing skin" SEO keyword. When the makeup artist follows a similar principle - using a primer that reflects light and a foundation with a dewy finish - the final portrait benefits from both internal and external illumination.
Let’s break down the process step by step, drawing on my own field experience and conversations with seasoned photographers:
- Plan the space. Identify a corner of the reception venue that can accommodate a backdrop, two lights, and a small table for the printer. Even a modest hotel ballroom can work if you use a portable backdrop stand.
- Choose the equipment. A DSLR or mirrorless camera with a fast lens (f/1.8 or lower) captures crisp details. Pair it with two LED panels, a wireless trigger, and a compact dye-sublimation printer.
- Test the lighting. Position the key light at a 45-degree angle to the subject’s face, the fill light at the opposite side at half the intensity, and the rim light just behind the head to separate the subject from the backdrop.
- Synchronize with beauty prep. Schedule a quick makeup touch-up station near the photo area. This lets guests freshen up before stepping in front of the camera, reinforcing the "beauty tips" element.
- Print and display. As each portrait finishes, hand the print to the guest or place it on a communal board. The instant gratification boosts engagement and makes the photo a conversation starter.
While the DIY route is empowering, it’s not without challenges. One common complaint is the learning curve for lighting. I’ve observed photographers who rely on auto-mode struggle with blown highlights on shiny bridal gowns. The solution? Switch to manual exposure and set a modest ISO (100-400) to preserve detail. Another hurdle is printer reliability - dye-sublimation units can overheat after a high volume of prints. Keeping a spare cartridge and a small cooling fan on hand mitigates downtime.
For couples who still want a professional touch without the full price tag, hybrid models exist. Some studios offer a "same-day edit" package: they capture the images, perform a quick color correction, and hand-print the best shots on the spot. This compromises on the DIY element but retains the immediacy and reduces the risk of technical glitches.
From a broader perspective, the debate mirrors the classic beauty-vs-budget conversation in other industries. On Saturday Night Live, producers have long used low-budget parodies - often crafted by James Signorelli - to mock high-end commercials, proving that creativity can thrive under constraints. Likewise, a well-planned cheap portrait setup can deliver a polished, memorable product without the lavish expense.
"The industries, products, and ad formats targeted by the parodies have been wide-ranging, including fast food, beer, feminine hygiene products, toys, clothes, medications, financial institutions, automobiles, electronics, appliances, public-service announcements, infomercials, and movie & TV shows." (Wikipedia)
This quote underscores a lesson: versatility matters more than budget. By mastering a few core techniques - two-light lighting, proper skin prep, and quick-print workflow - you can produce a range of portrait styles that serve any wedding theme, from rustic barn to sleek city loft.
| Option | Cost Range | Turnaround Time | Customization |
|---|---|---|---|
| Professional Studio Package | $2,500-$4,000 | 1-2 weeks for prints | High (retouching, album design) |
| Hybrid Same-Day Edit | $1,500-$2,200 | 30-45 minutes on-site | Medium (limited retouch) |
| DIY Two-Light Setup | $300-$600 | 2-3 minutes per print | High (control lighting, backdrop) |
When I reflect on my own wedding coverage portfolio, the most rewarding moments often come from those spontaneous instant prints. Guests laugh, point, and share the physical photo with relatives who might never see a digital gallery. That tactile connection is something no Instagram story can replicate, reinforcing why the "cheap prints" option deserves serious consideration.
Finally, let’s address the gut-health angle that often sneaks into beauty conversations. A balanced diet rich in antioxidants - berries, leafy greens, omega-3 fatty acids - supports skin clarity, which directly translates to better portrait outcomes. I’ve advised brides to stay hydrated and avoid heavy, salty meals on the day of the shoot; this reduces puffiness and keeps the complexion fresh for the camera.
Frequently Asked Questions
Q: How much can I realistically save by opting for DIY same-day portrait prints?
A: Savings vary, but many couples report cutting print costs by 20-30% compared to traditional album packages, especially when they handle lighting and printing themselves.
Q: What equipment is essential for a two-light portrait setup?
A: At minimum, you need a DSLR or mirrorless camera with a fast lens, two LED panels with diffusion, a wireless trigger, and a portable dye-sublimation printer.
Q: Can I combine professional makeup with a DIY photo station?
A: Yes, many couples set up a small makeup refresh station near the backdrop, allowing guests to touch up and maintain a polished look for each instant print.
Q: How does gut health affect my wedding day photos?
A: A balanced diet and proper hydration reduce puffiness and improve skin clarity, resulting in smoother, more radiant images on camera.
Q: What are the best backdrop options for a budget-friendly venue?
A: Simple fabric backdrops, recyclable paper rolls, or a DIY string-light curtain provide an elegant look without the cost of custom printed scenes.